
🌿Using the Official Metis Bridge
How to Use the Official Metis Bridge
Here's a step-by-step guide on how to bridge assets to the Metis network using the official Metis Bridge.
What makes it "official?" The official bridge is built and operated by the Metis team. This stands in contrast to "third-party bridges," which are built and operated by external parties.
Withdrawals from Metis to other networks using the Official Bridge may take up to one week at this time since Metis is in-part an Optimistic roll-up.
Currently, the Official Bridge supports only bridge transfers between the Ethereum network and the Metis network. To bridge between Metis and other networks you must use a third-party bridge provider or a centralized exchange (CEX) which offers transfers to and from Metis.
Step 1: Go to metis.io

On the home page of the metis.io website, click the “Bridge” button at the very top of the homepage. This will take you to the Metis Bridge.
Step 2: Click "Metis Bridge."

Step 3: Connect your wallet.
To interact with the bridge, you must first connect your wallet. Start by clicking either of the blue “Connect Wallet” buttons found on the top right-hand corner or at the bottom section of the swap terminal, then choose your desired wallet.

Step 4: Select the token you want to bridge.
Once you've connected your wallet, select the token pair you wish to transfer to or from the Metis Andromeda network. In this example, we’ll be using our MetaMask wallet and selecting ETH as our asset to transfer from the Ethereum network to the Metis network.

Step 5: Enter the amount you want to bridge to the Metis network.
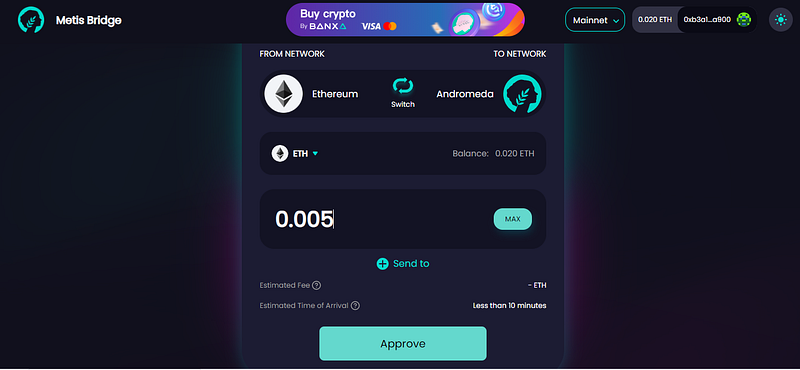
Enter the amount of tokens you'd like to transfer. In this example, we will be transferring 0.005 ETH to the Metis network from the Ethereum network.
The Official Bridge allows you to bridge tokens across the Ethereum and Metis networks to a different address from which you are sending, but the UI defaults to same-address bridge transfers.
Step 6: Initiate and approve the transaction(s).
If this is the first time you have bridged this token from Ethereum to Metis, you will need to approve usage of ETH in this transaction before initiating the bridging transaction. Click the “Approve” button at the bottom of the terminal to approve the usage of ETH in this transaction.
Next, click the “Confirm” button to initiate the bridge transaction.

Step 7: Confirm the MetaMask transaction.
After you click "confirm" on the bridge webpage, MetaMask will display a confirmation dialogue box in a pop-up window. Click "Confirm" here to initiate the transaction if you would like. Choosing "Reject" will not allow the transaction to begin.

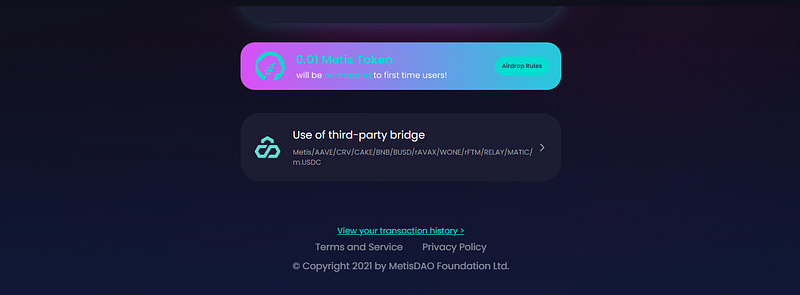
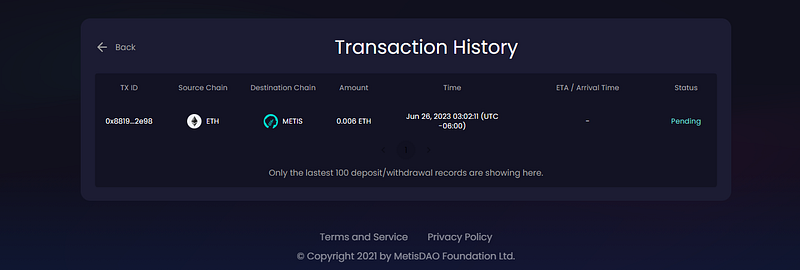
Step 8 (Optional): View your transaction history.
If you'd like to view your transaction history and status of any pending transactions, click the “View your transaction history” link near the bottom of the page.
Step 9: You're Bridged to (or from) Metis!
Once the transaction is finished, switch to the Metis network in MetaMask.

Troubleshooting
Some common bridging issues include the bridged token not seeming to show on the other network and adding the new network's information to MetaMask. Information on some of these issues can be found below.
Learn how to add a custom network like Metis to your MetaMask wallet so you can connect to the Metis network.
Need to add the Metis network to MetaMask? You can find the network's information on their docs site.
Missing a token? Start your troubleshooting here.
Learn how to move your tokens from a centralized exchange (CEX) to MetaMask.
Special Help for Tokens Not Displaying in MetaMask
Since this is such a common issue for newer users, we have provided more detailed help below.
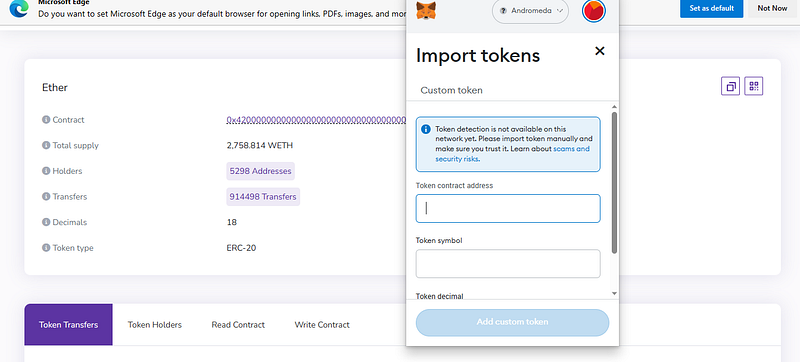
If you've bridged to Metis, have waited a sufficient time, have switched your MetaMask wallet to the proper Metis network, and are not seeing your tokens in MetaMask, the solution is very likely that you need to add, or "import," the token's information into MetaMask. Fortunately, this is simple.
To import tokens on Metamask. Open the Metamask wallet, make sure it is set to “Metis Andromeda” (as pictured above), and import a new token. Add the token's contract address, token symbol, and token decimal. For the example of our ETH transfer, the info will be as follows:
Contract: 0x420000000000000000000000000000000000000a
Token symbol: WETH (the wrapped version of ETH)
Token Decimal: 18
Source: https://andromeda-explorer.metis.io/token/0x420000000000000000000000000000000000000A/token-transfers
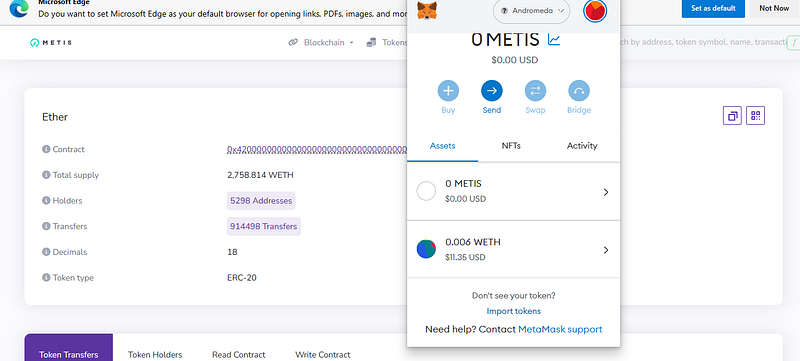
Your new assets should now be visible on your MetaMask wallet when it is connected to the Metis Andromeda network.
Last updated