# Creating a MetaMask Wallet
## How to make a Metamask wallet.
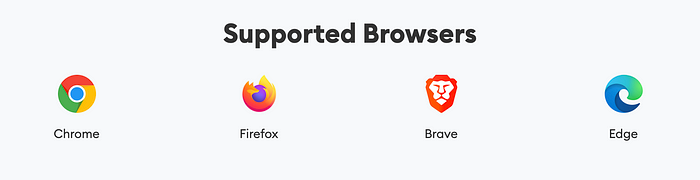
**Step 1: Download MetaMask wallet**\
Go to and click on “Download”. Select your preferred browser and install the MetaMask extension. Be cautious of fake versions of MetaMask and ensure you download it from the official source.
**Step 2: MetaMask wallet installation**\
Click on the MetaMask extension and click on the blue “Get Started” button.
**Step 3: Click “Create a Wallet”**
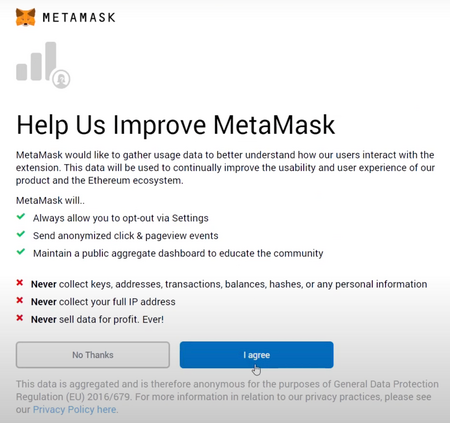
**Step 4: Click Either the “No Thanks” or “I agree” option to proceed on the "Help us Improve Metamask" page**
**Step 5: Create a password for your wallet**
Accept the wallet’s terms of use and create a secure password for your MetaMask wallet.
**Step 6: Reveal, back up, and store your seed phrase**
MetaMask will provide you with a 12-word seed phrase. This phrase is crucial for restoring your wallet or accessing it from different devices. **Write down the seed phrase and store it in a secure place offline.** **Do not share it with anyone**, as it grants access to your wallet and its contents.
Click “Next” as pictured in the blue box to the right.
**Step 7: Seed phrase confirmation**\
Confirm your secret backup phrase by clicking on each word in the order in which the words were presented on the previous screen. Click on “Confirm” to proceed.
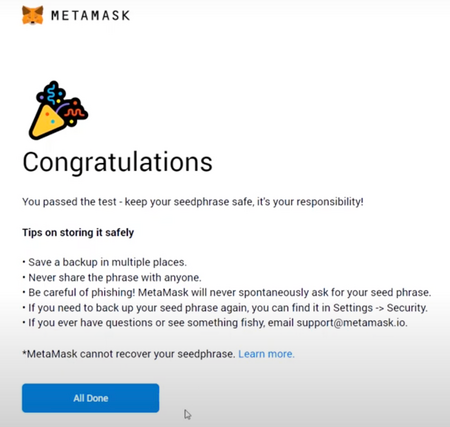
**Congratulations! You've successfully created your Metamask wallet!**
## What Now?
You can now access your wallet by clicking on the MetaMask fox icon at the top-right-end corner of your browser.
Once your MetaMask wallet is set up, you can start using it to send, receive, and store digital assets. Here are some things you can do with your MetaMask wallet:
* Sending and Receiving ETH Tokens: Use your MetaMask wallet to send and receive Ethereum tokens. You can copy your wallet address and share it with others who want to send you tokens.
* Connect to DeFi applications like decentralized exchanges and other Web3 dApps!
* Storing NFTs: MetaMask allows you to store non-fungible tokens (NFTs) securely. Your wallet becomes the home for your valuable digital collectibles.